Footer sections and Blogger templates
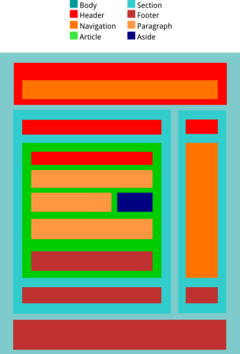
 Blogger's Designer Templates (ref Template types in Blogger) all let you configure the footer section - you can have a one, two or three column footer, and this together with choosing where to add gadgets gives a lot of flexibility about how the footer looks.
 But if you are using an older Layout template that doesn't ave a footer and you want to add one, you can either:
- Change templates (but this means that any customisations you've made, eg adding Analytics code) will be lost, OR
- Add a footer section to your existing template, by customising the code - provided you are willing to accept the disadvantages of editing your template.
Ading a footer section to a Layout template
Edit your template
- Pre-Sept-11: Design > Edit HTML
- Post-Sept-11: Template > Edit HTML > Proceed
Download a full copy of your existing template (in case things go wrong), and put it somewhere safe
Find the part where the code says:
]]></b:skin>
</head>
Add the following code immediately before this. (This adds a style for youre new footer to use)
#footer {
border-top:1px dotted #999999;
clear:both;
margin:0 auto;
}
Find the part where the code says:
<!-- spacer for skins that want sidebar and main to be the same height-->
<div class='clear'> </div>
Add this code immediately after that point (this is setting up the footer section in your new template)
<div id='footer-wrapper'>
<b:section class='footer' id='footer' maxwidgets='10' showaddelement='yes'>
</b:section></div>
A similar technique works for adding multiple Footers, if your template already has one - you just have to make sure that the section gets a separate ID (eg id='footer2' in the part in bold-italics).
Related Articles:
Template types in Blogger.
Editing your blog's template: advantanges and disadvantages
Removing the attribution gadget ("Powered by Blogger) from blogs with designer templates
Putting a picture into a blog post
Adding a separator between your posts
Setting up Analytics code on your blog
No comments:
Post a Comment